No-Code Agents
Flowise
Learn how to integrate Membit’s real-time context with your Flowise chatflows using Custom MCP nodes.
Flowise is a visual low-code platform for building AI-powered chatflows and agents. By integrating Membit with Flowise, you can enhance your AI agents with real-time social context, enabling them to access current trends, breaking news, and live conversations from across the web through a visual drag-and-drop interface.
Prerequisites
Before you begin, make sure you have:- An active Flowise instance (cloud or self-hosted)
- A Membit account with an API key (get one here)
- Basic familiarity with Flowise’s visual workflow builder
- A Google AI Studio API key for the chat model (optional)
Flowise makes building AI workflows incredibly intuitive with its visual
node-based interface - no coding required!
Setting Up Membit Custom MCP
Follow these steps to integrate Membit with your Flowise chatflows:1
Access Chatflows
Navigate to your Flowise dashboard and click Chatflows in the menu bar to access the workflow builder.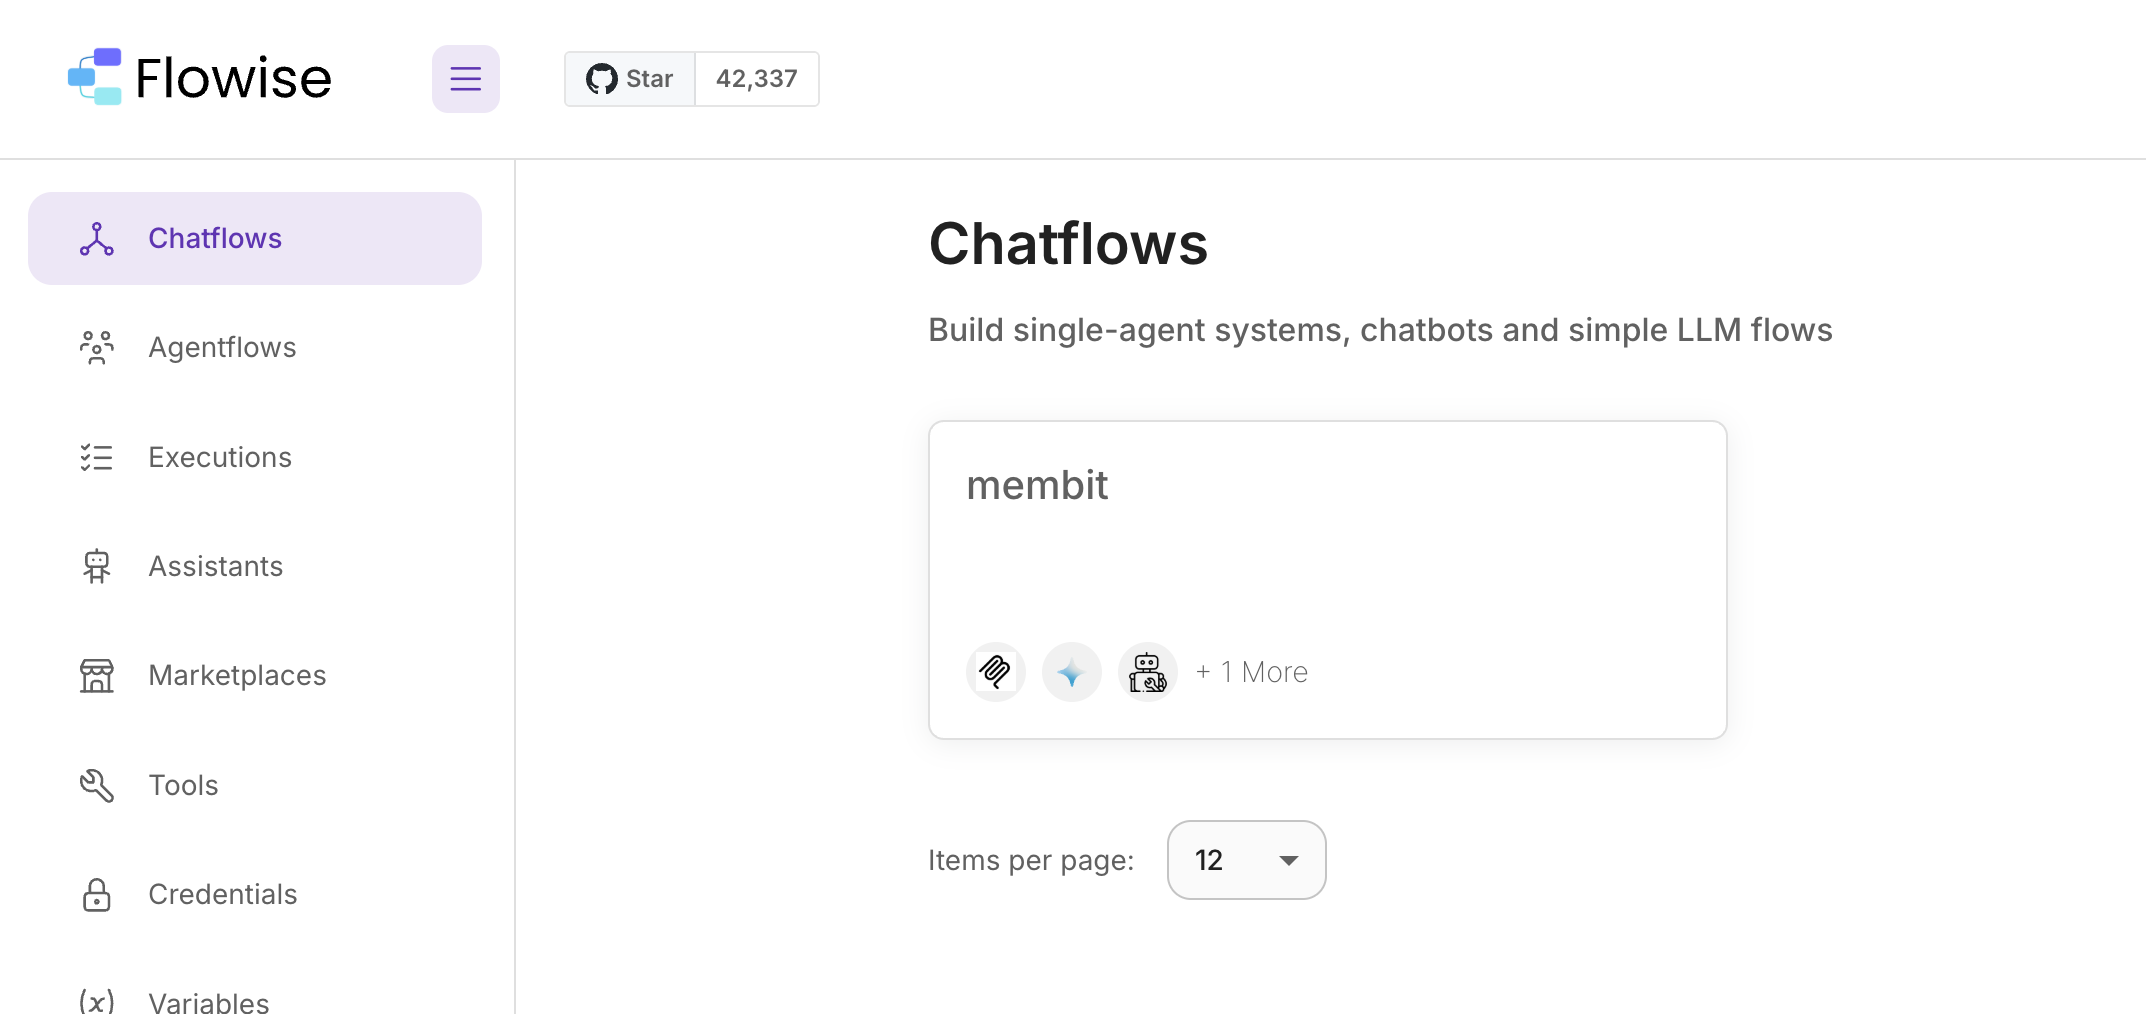
2
Create New Chatflow
Click Add New to start building a new chatflow from scratch.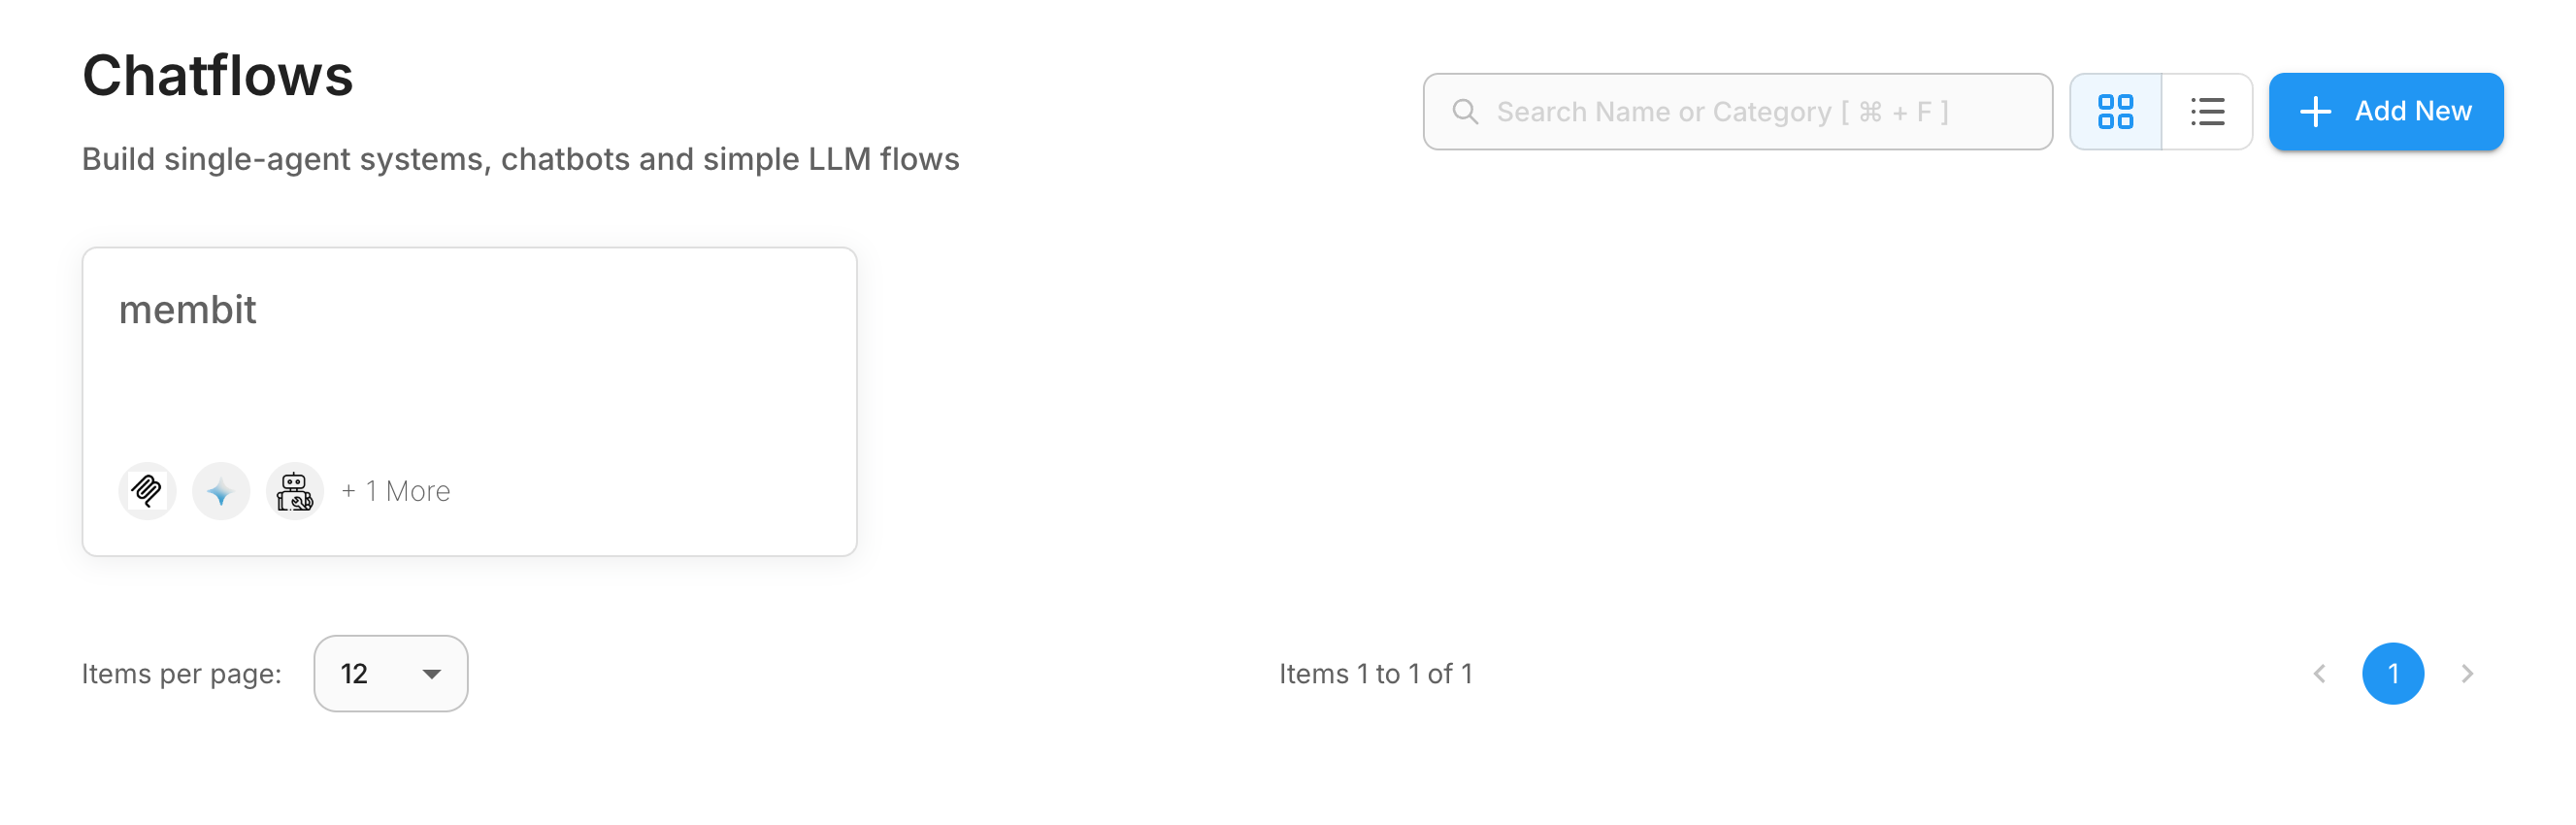
3
Add Node Panel
Click Add Node in the top left corner to open the node library.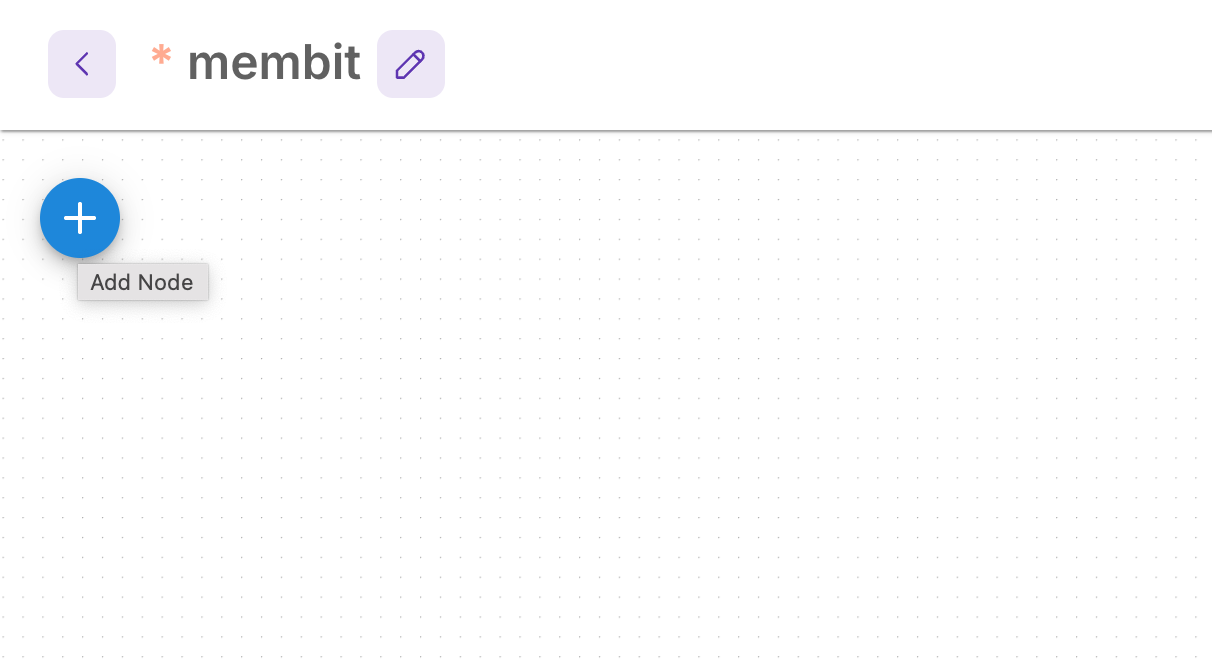
4
Search for Custom MCP
In the node search bar, type “Custom MCP” to find the Model Context Protocol integration node.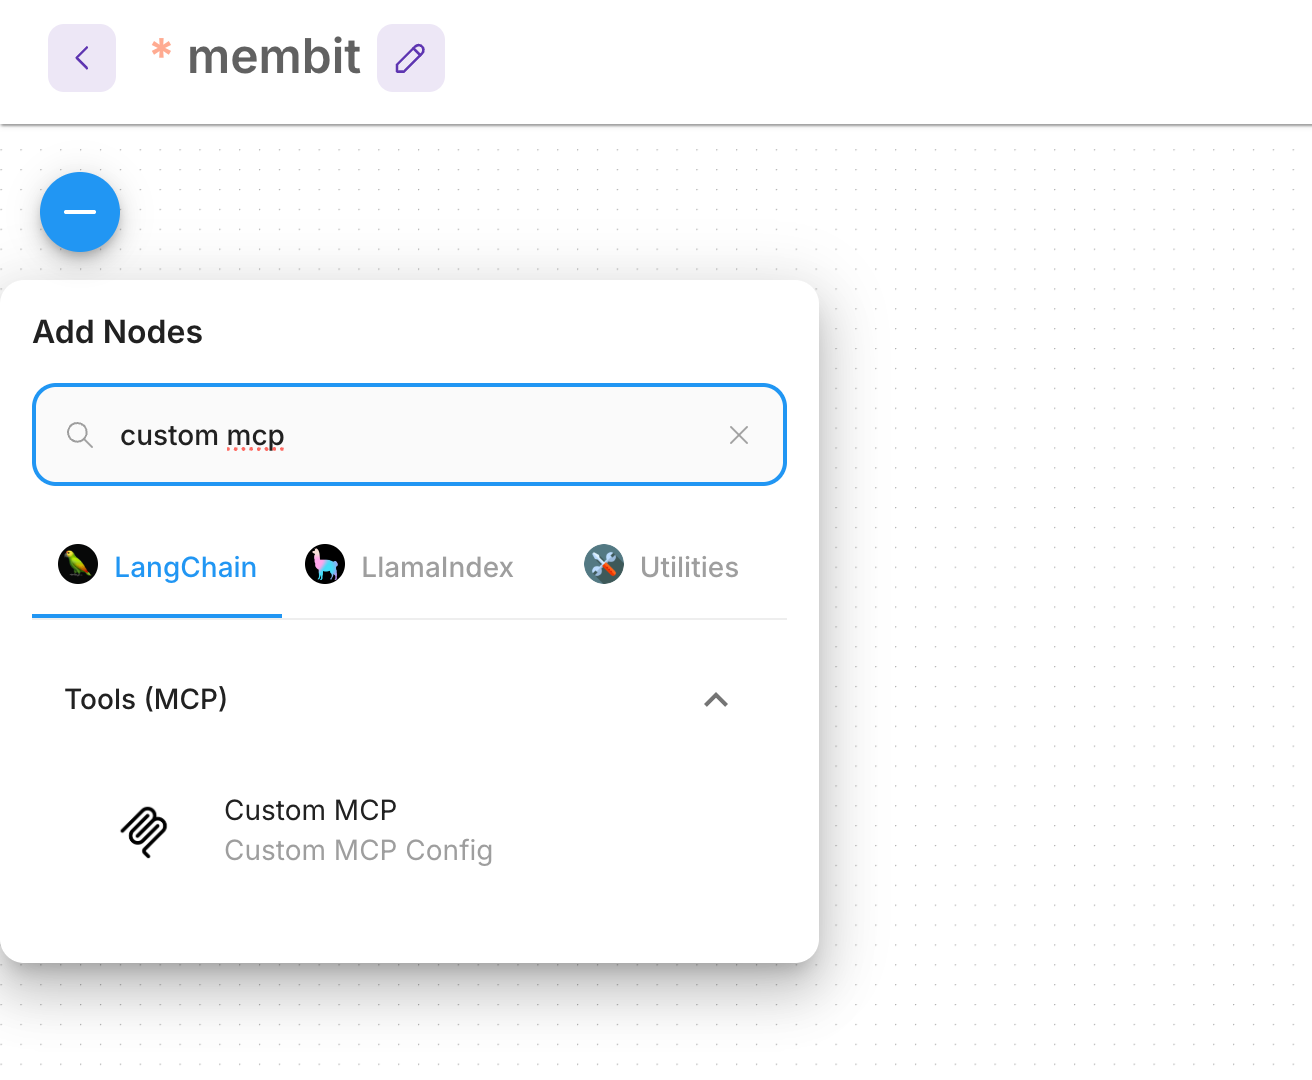
The Custom MCP node enables Flowise to connect with external MCP servers like Membit, providing real-time context to your chatflows.
5
Configure Custom MCP Node
Drag and drop the Custom MCP node to your chatflow board, then configure it with your Membit server details.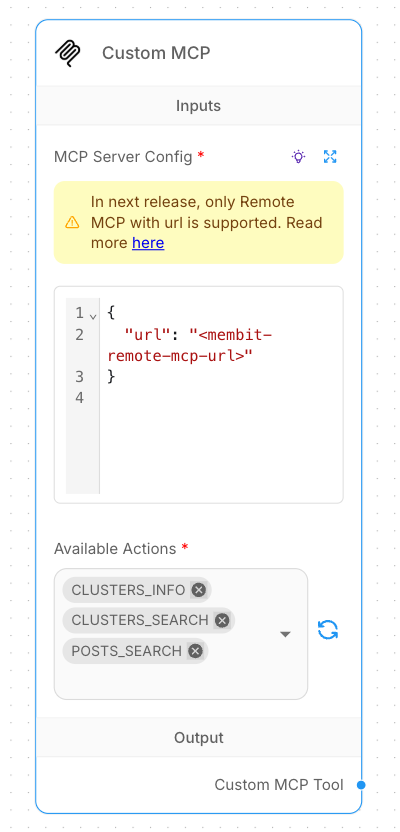 MCP Server Configuration:
Set the configuration using JSON format and replace with your Membit API key:After configuration, click the refresh button to load available actions, then select the actions you want to use.
MCP Server Configuration:
Set the configuration using JSON format and replace with your Membit API key:After configuration, click the refresh button to load available actions, then select the actions you want to use.
Replace
<your-api-key> with your actual Membit API key. Keep this credential secure and don’t share it with unauthorized users.Building Your First Chatflow
Now let’s create a complete chatflow that uses Membit’s real-time context:1
Add Chat Model
Search for and add a ChatGoogleGenerativeAI node to handle the conversational AI.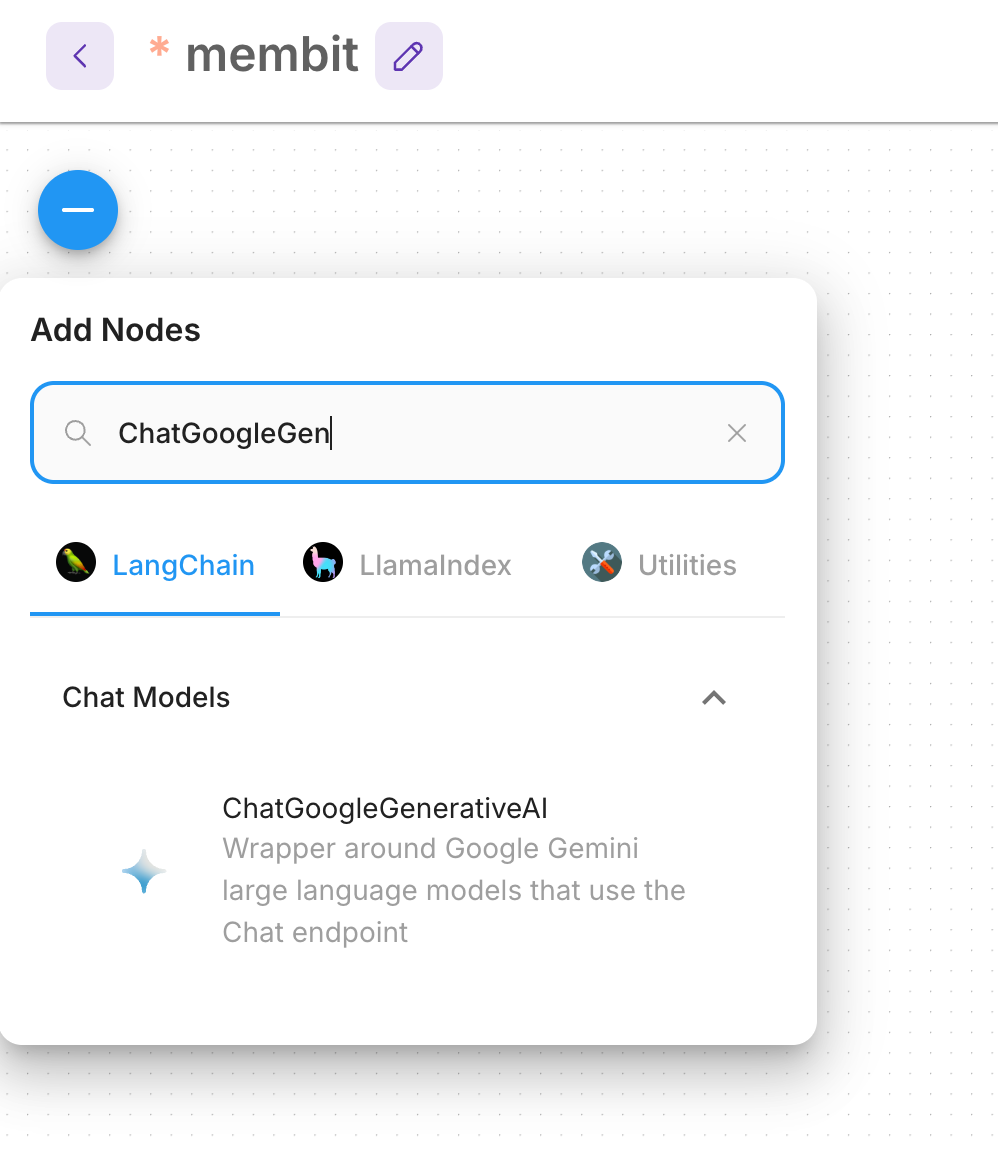 Configuration:
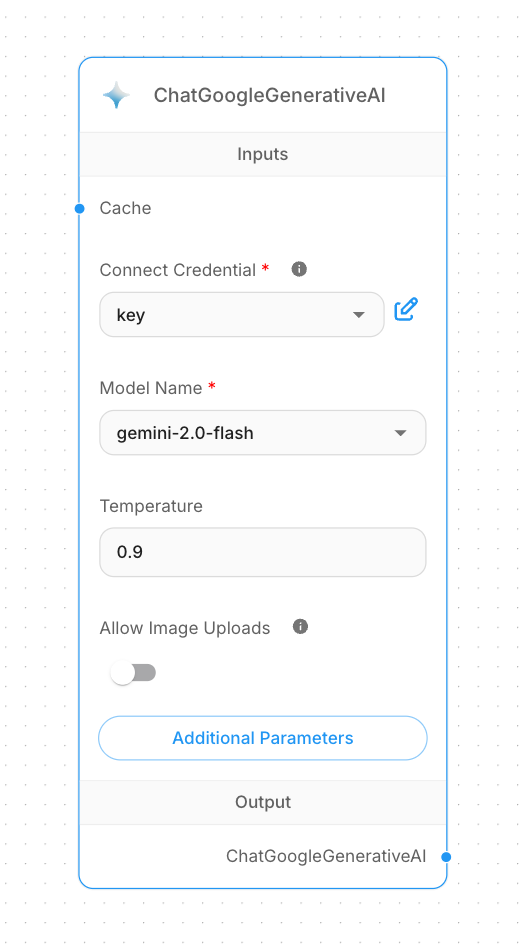
- Set up your Google AI Studio API key credential
- Select your preferred model (e.g., Gemini Pro)
2
Add Tool Agent
Search for and add a Tool Agent node to coordinate between the chat model and external tools.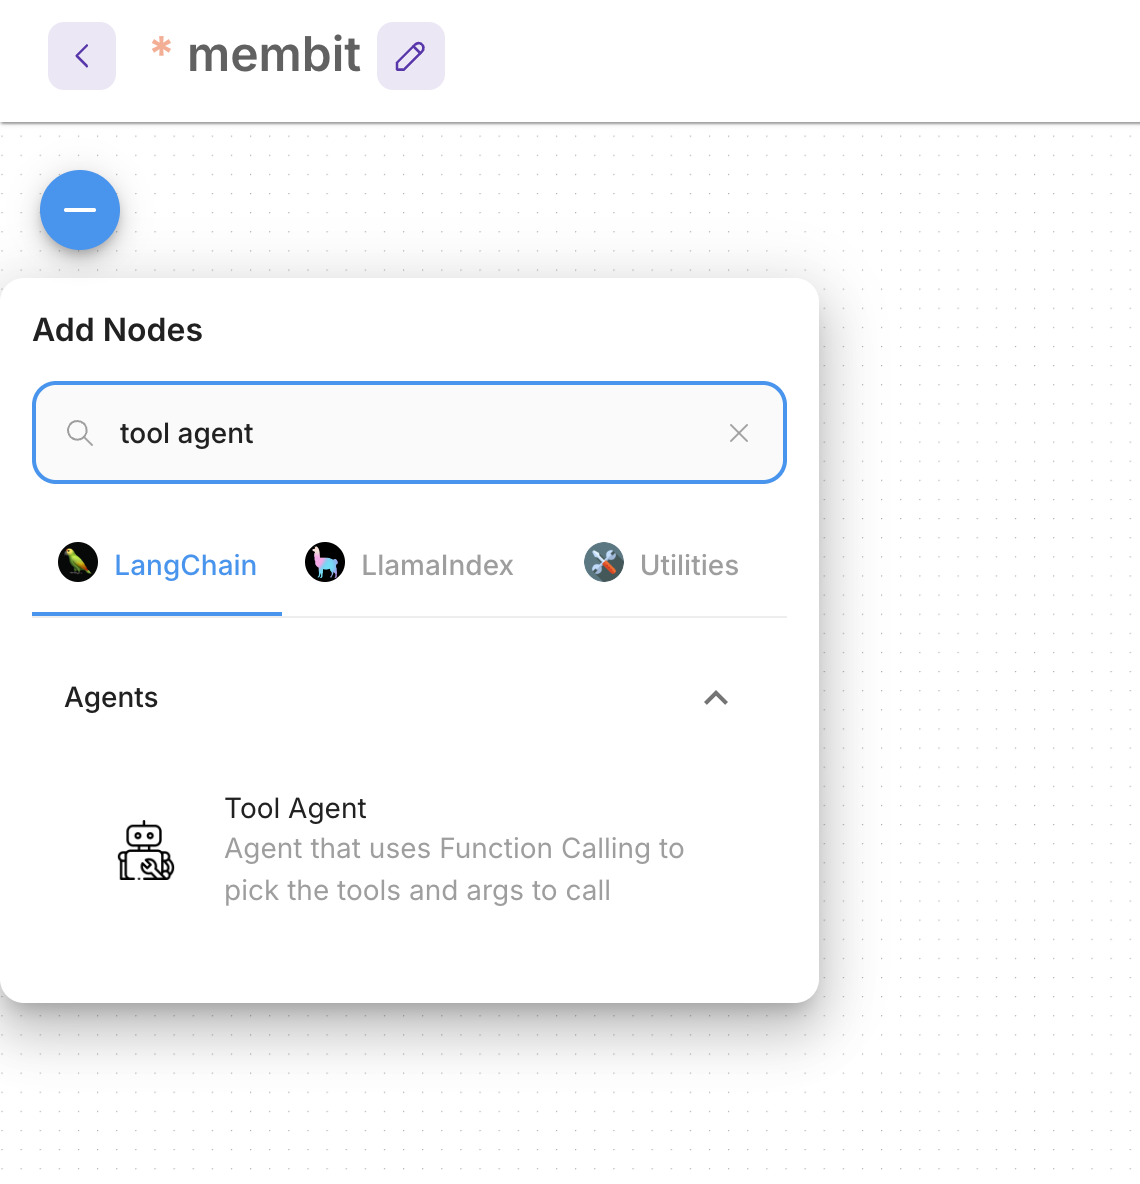
The Tool Agent acts as the orchestrator, managing how your chat model interacts with external tools like Membit.
3
Add Buffer Memory
Search for and add a Buffer Memory node to maintain conversation context.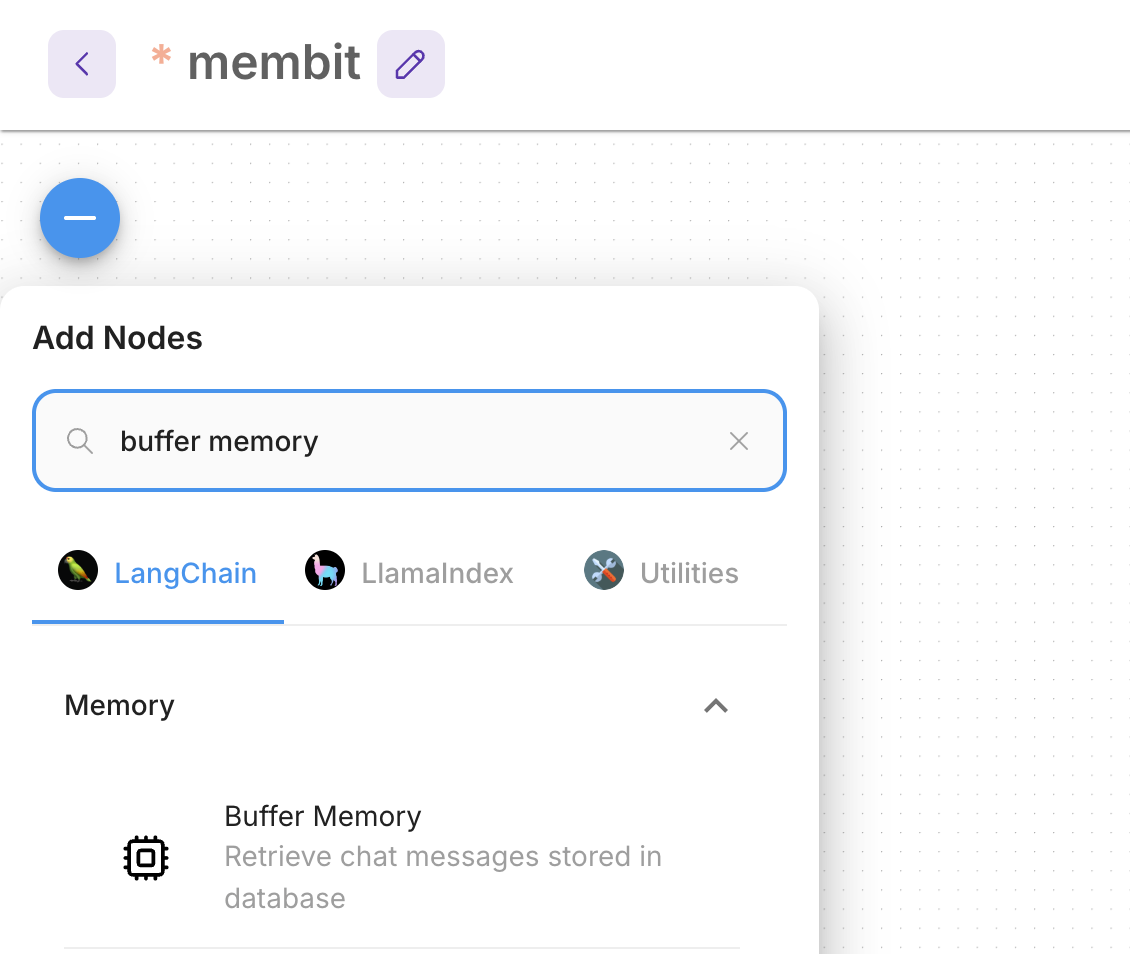
4
Connect the Nodes
Connect all the nodes to create a functioning chatflow: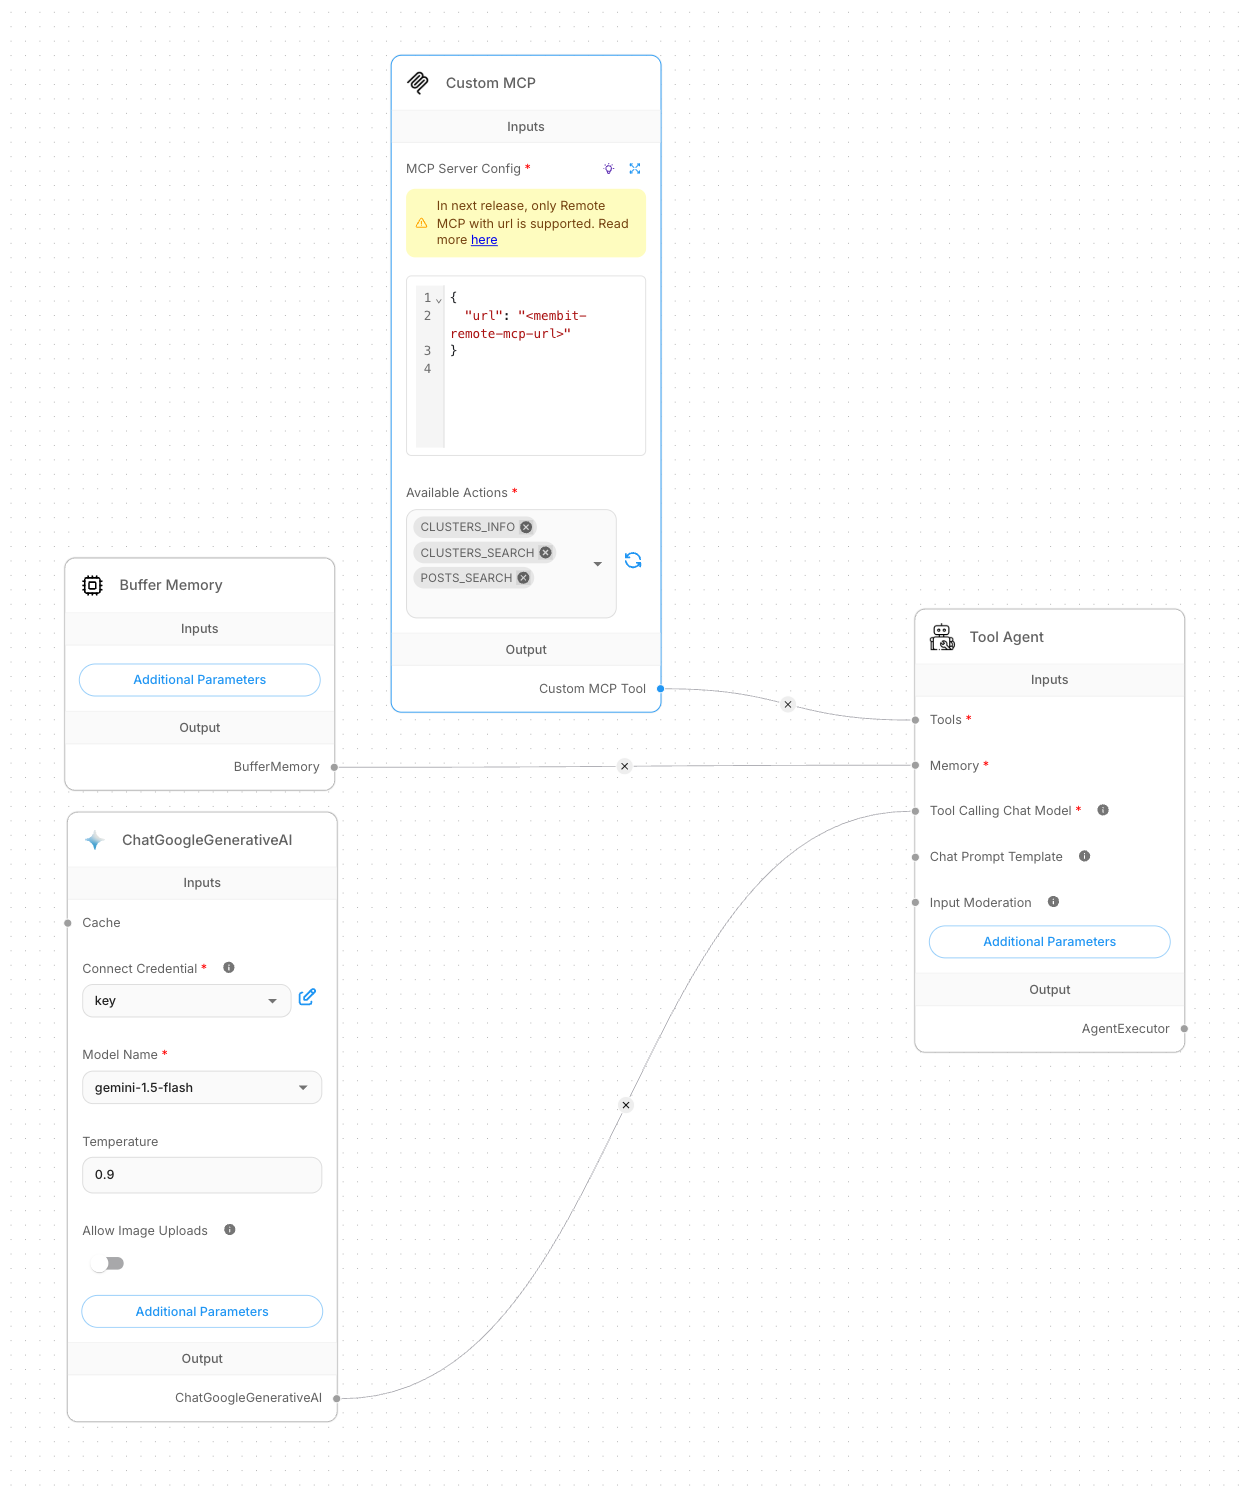 Connection Pattern:
- Custom MCP → Tools (Tool Agent)
- ChatGoogleGenerativeAI → Tool Calling Chat Model (Tool Agent)
- Buffer Memory → Memory (Tool Agent)
The visual connections show the data flow - the Tool Agent receives tools from Custom MCP, uses the chat model for responses, and maintains memory for context.
5
Test Your Chatflow
Once all nodes are connected, test your chatflow by starting a conversation.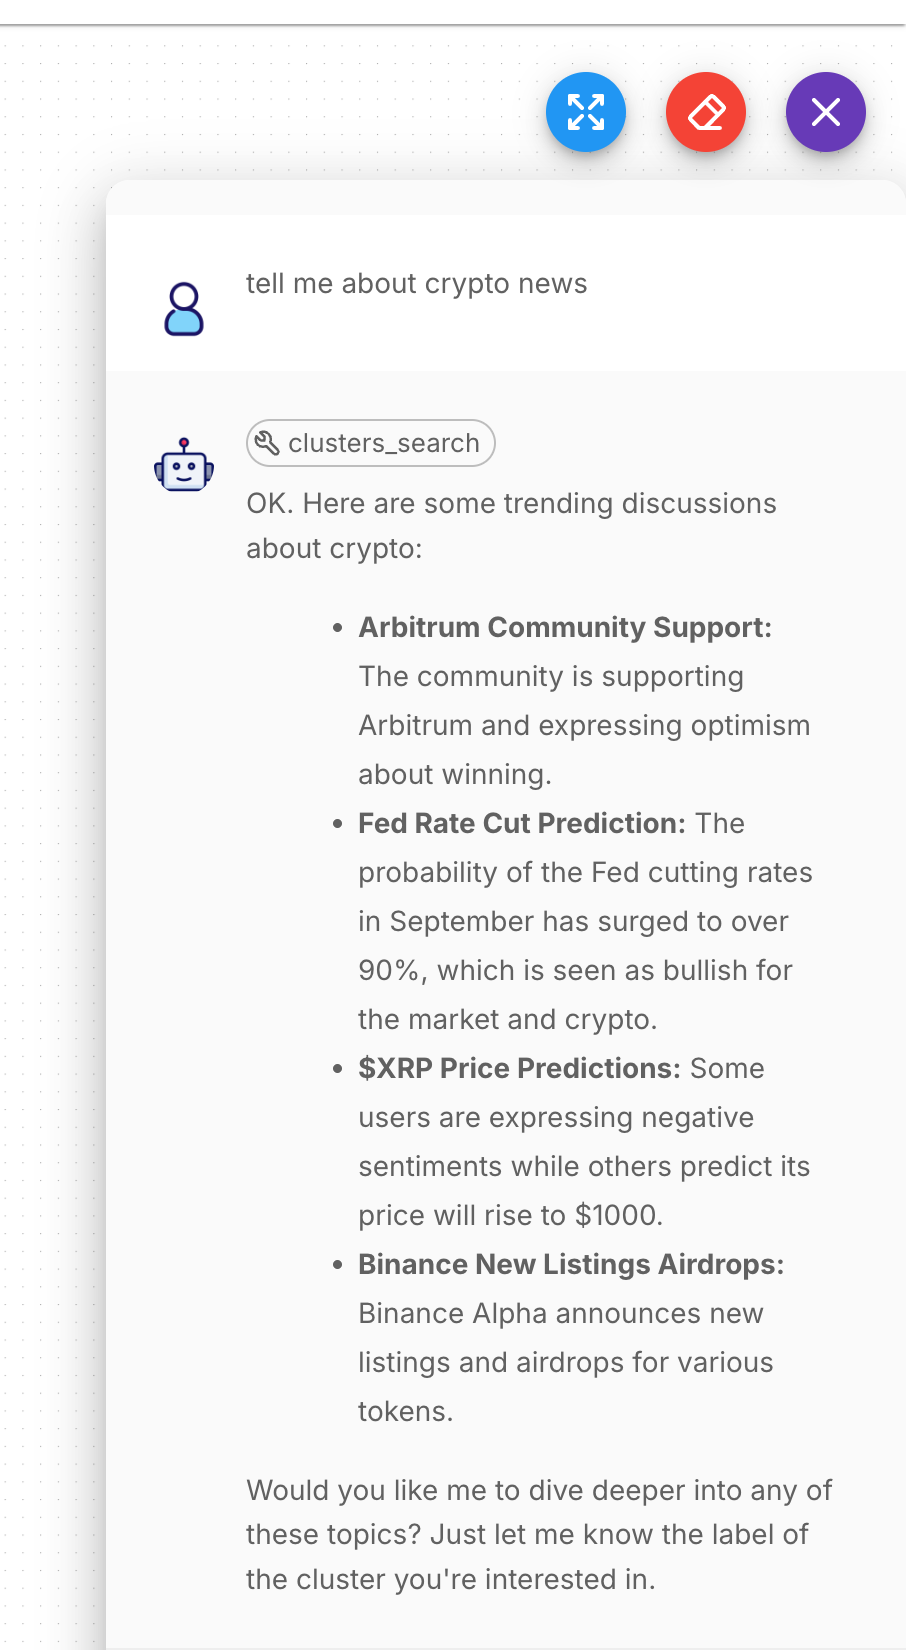
Testing the chatflow with real-time context from Membit
Try asking questions like “What’s trending in AI today?” or “Tell me about recent crypto news” to see Membit’s real-time context in action.