No-Code Agents
Gumloop
Learn how to integrate Membit’s real-time context with your Gumloop workflows using MCP server.
Gumloop is an intuitive no-code platform that enables you to build AI-powered workflows and automations. By integrating Membit with Gumloop, you can enhance your AI agents with real-time social context, allowing them to access current trends, breaking news, and live conversations from across the web.
Prerequisites
Before you begin, make sure you have:- An active Gumloop account (sign up here)
- A Membit account with an API key (get one here)
- Basic familiarity with Gumloop’s workflow builder
New to Gumloop? Their platform makes it incredibly easy to build AI workflows
without any coding experience.
Setting Up Membit MCP Server
Follow these steps to integrate Membit with your Gumloop workflows:1
Access Settings
Navigate to your Gumloop dashboard and click on the Settings option in the main menu.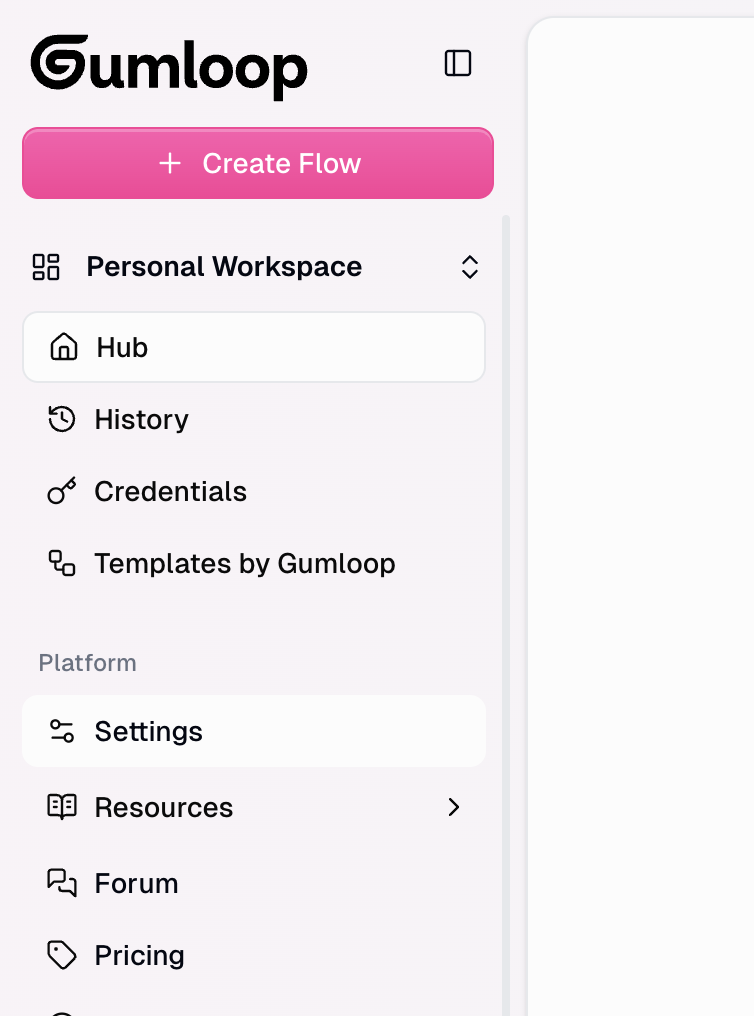
2
Go to Personal Credentials
In the settings menu, locate and click on Personal Credentials to manage your external service connections.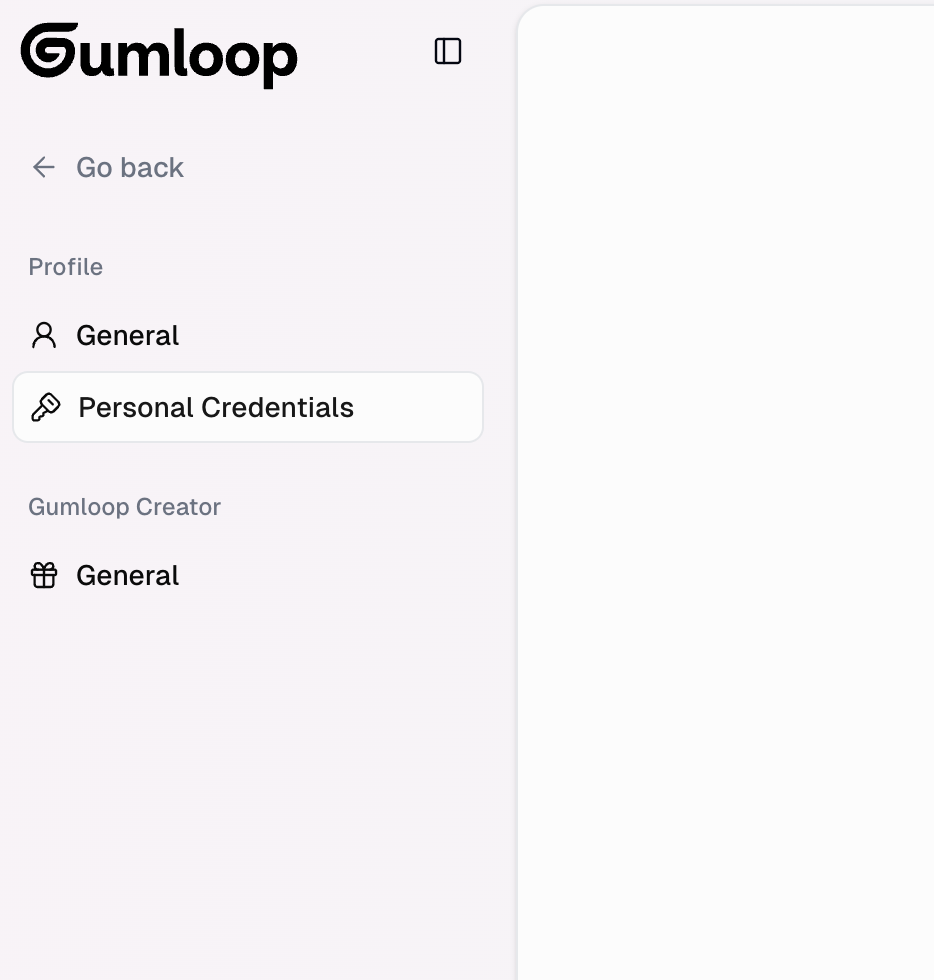
3
Add New Credentials
Click the Add Credentials button to create a new credential set for external services.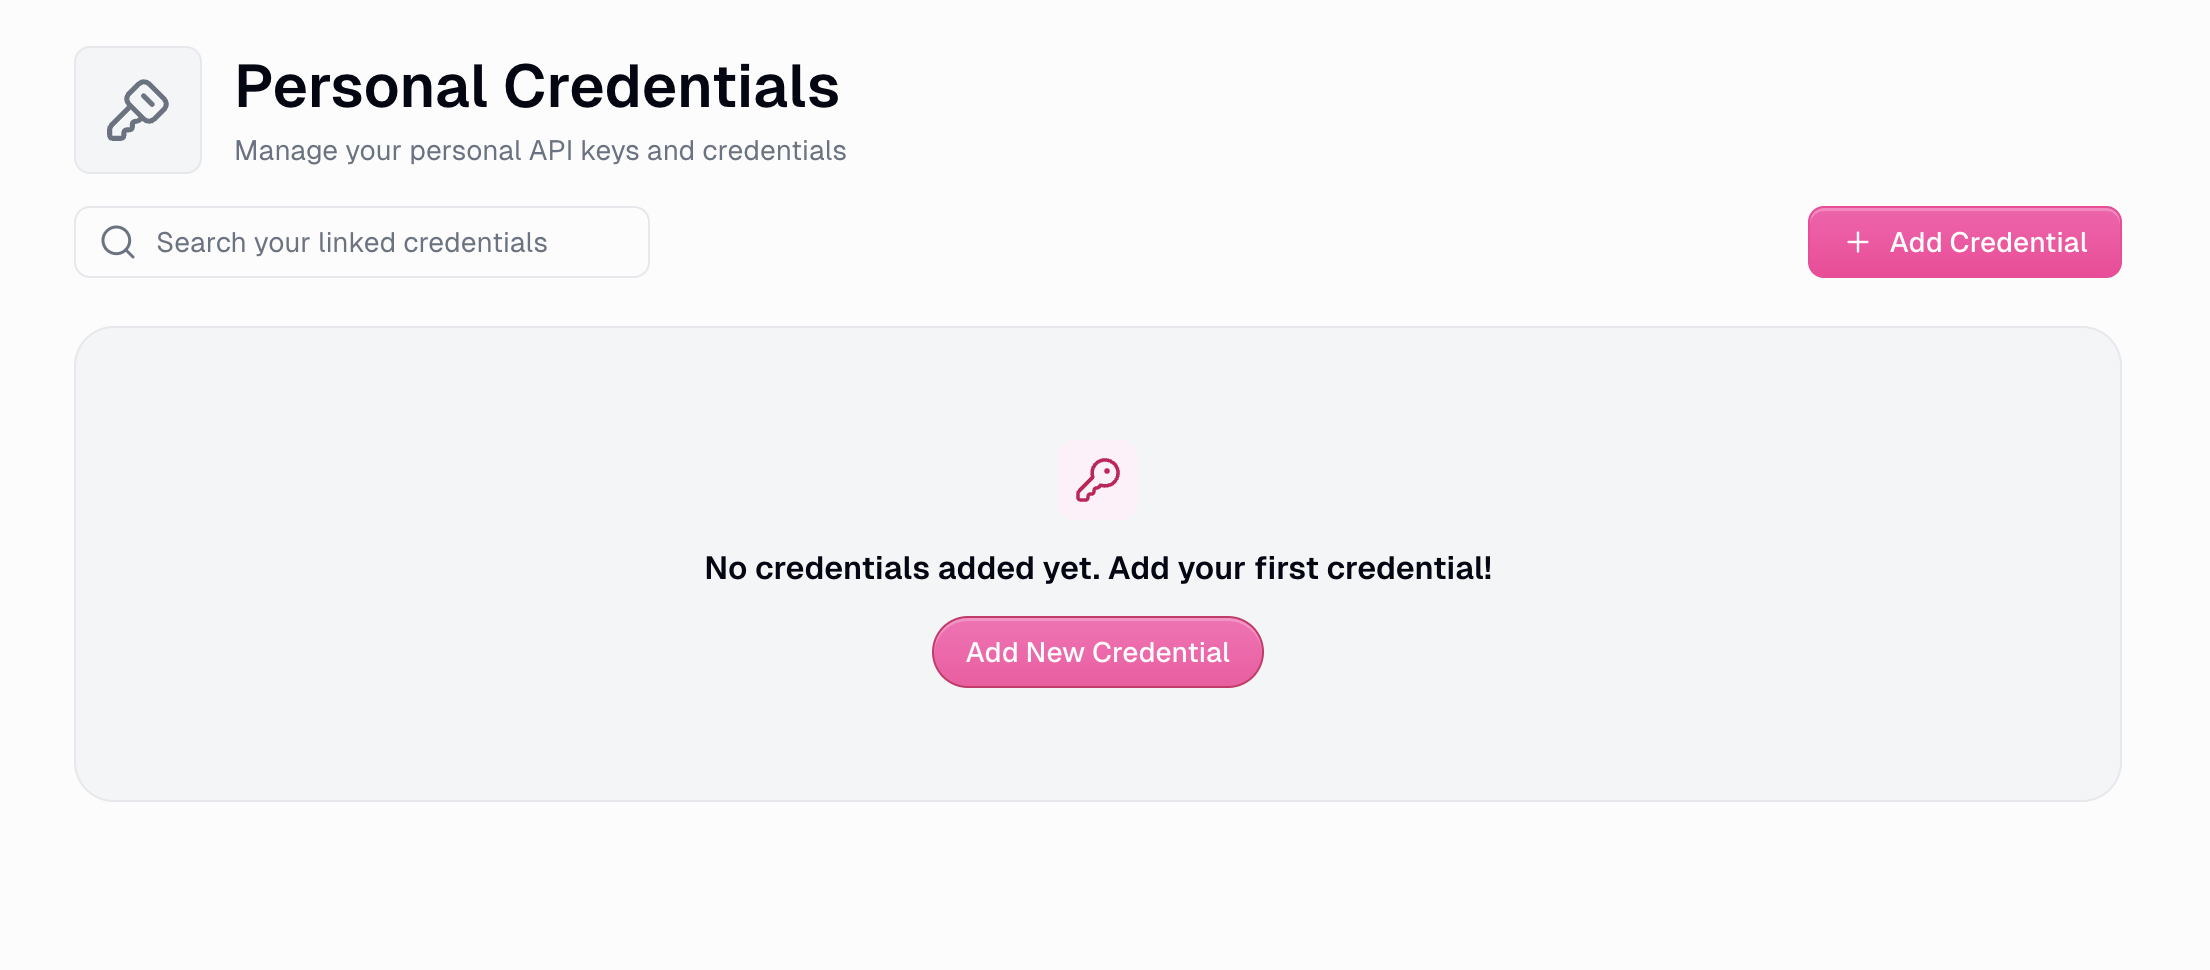
4
Search for MCP Server
In the credential type search, type “MCP server” and select the MCP Server option when it appears.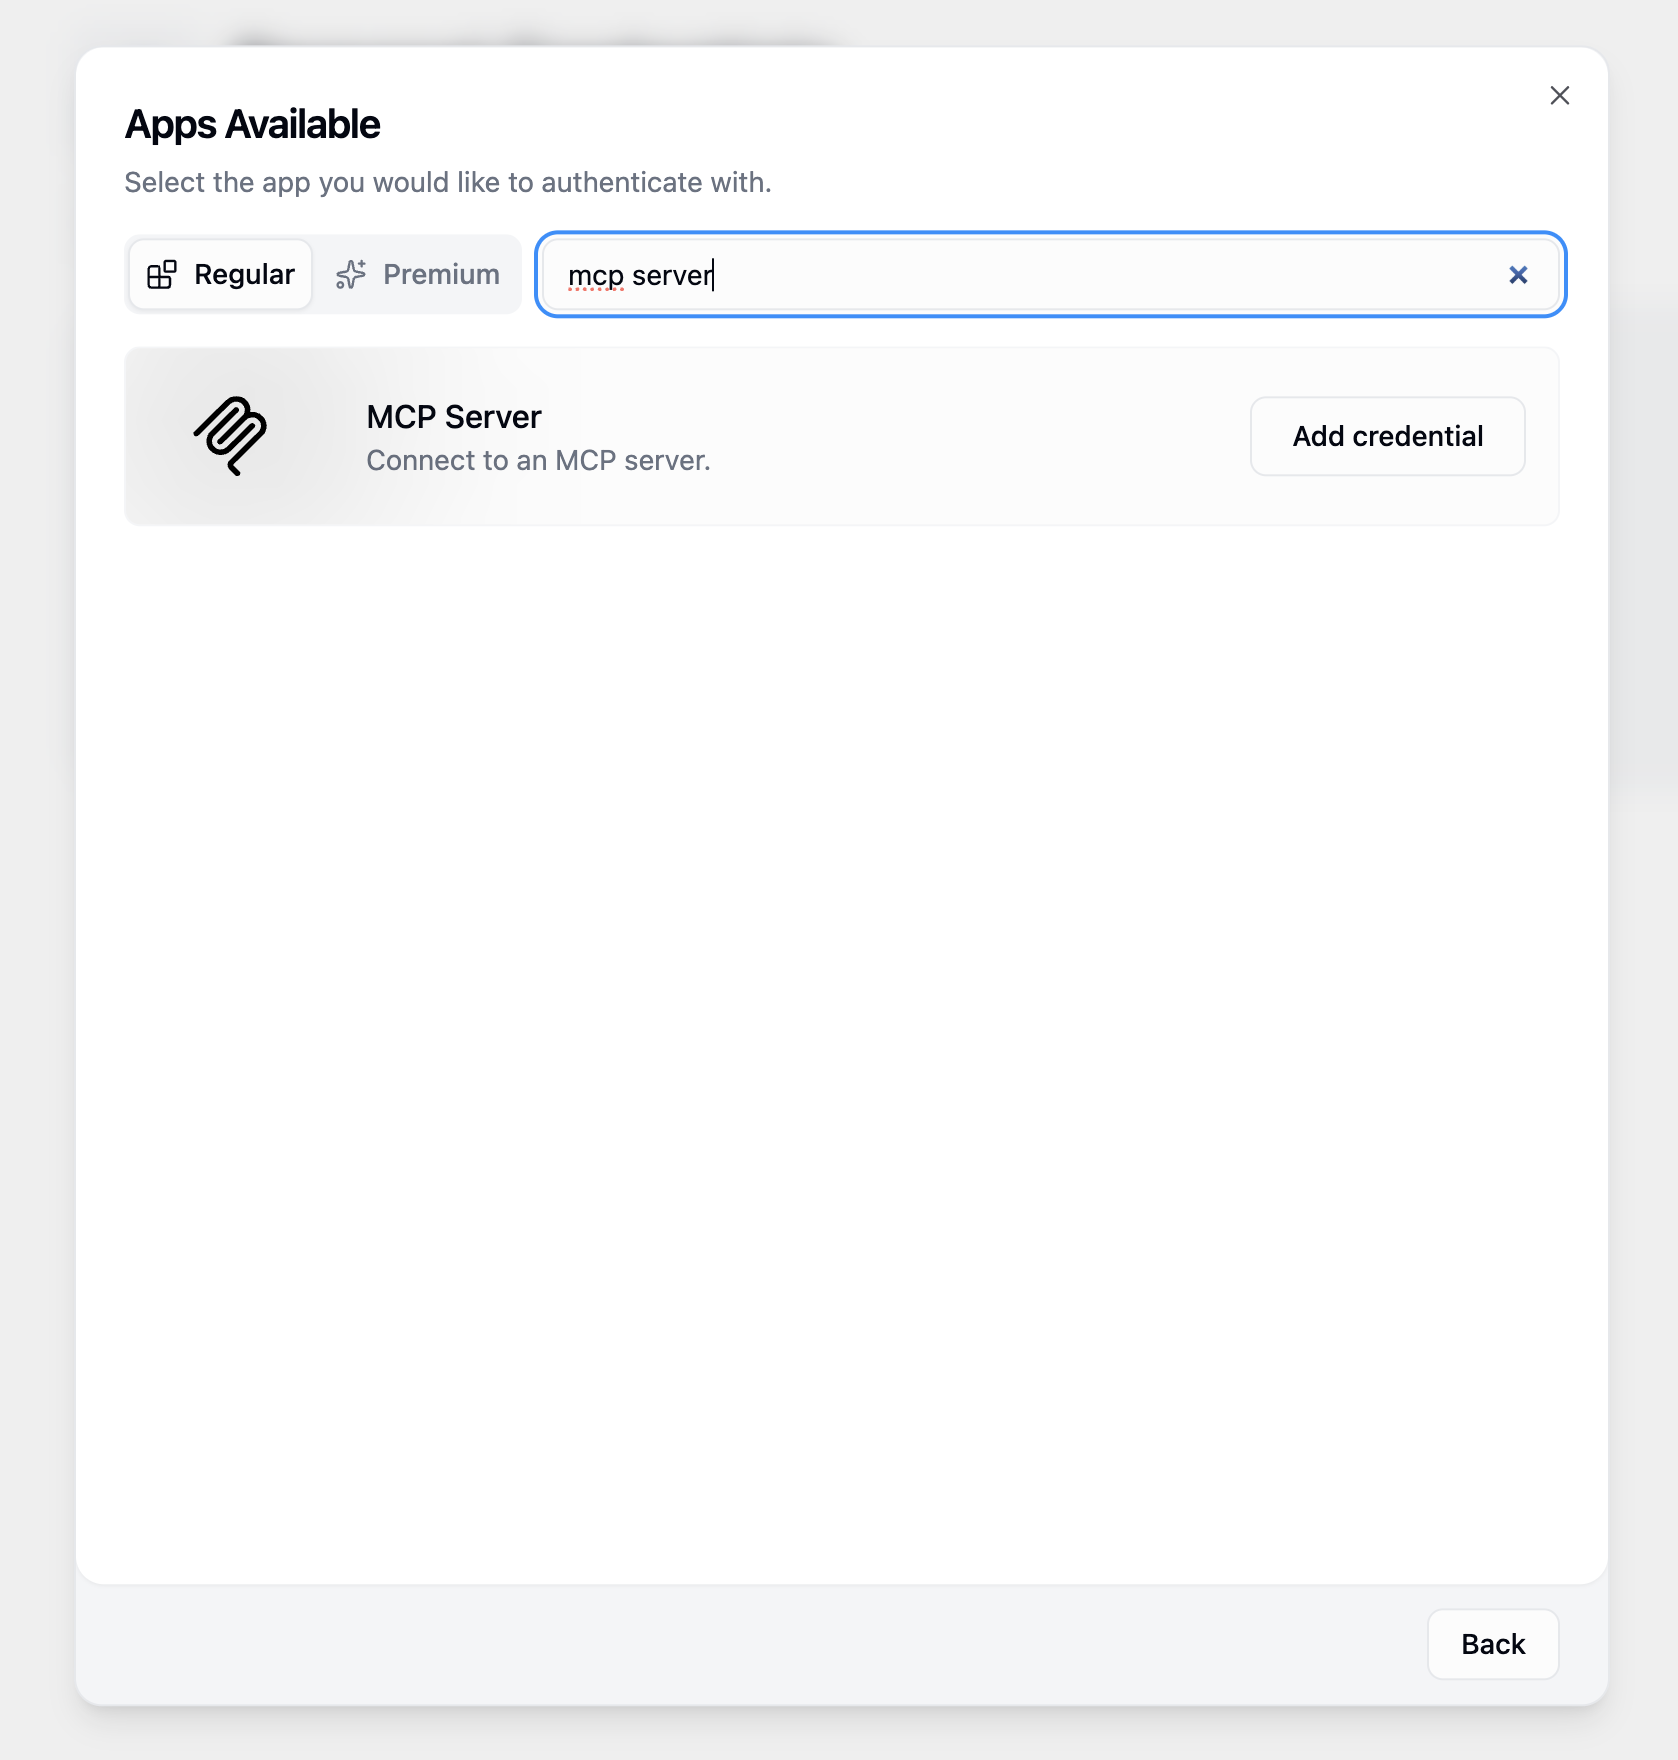
The MCP Server credential type enables Gumloop to connect with external Model Context Protocol servers like Membit.
5
Configure MCP Server Settings
Fill in the MCP server configuration with the following details: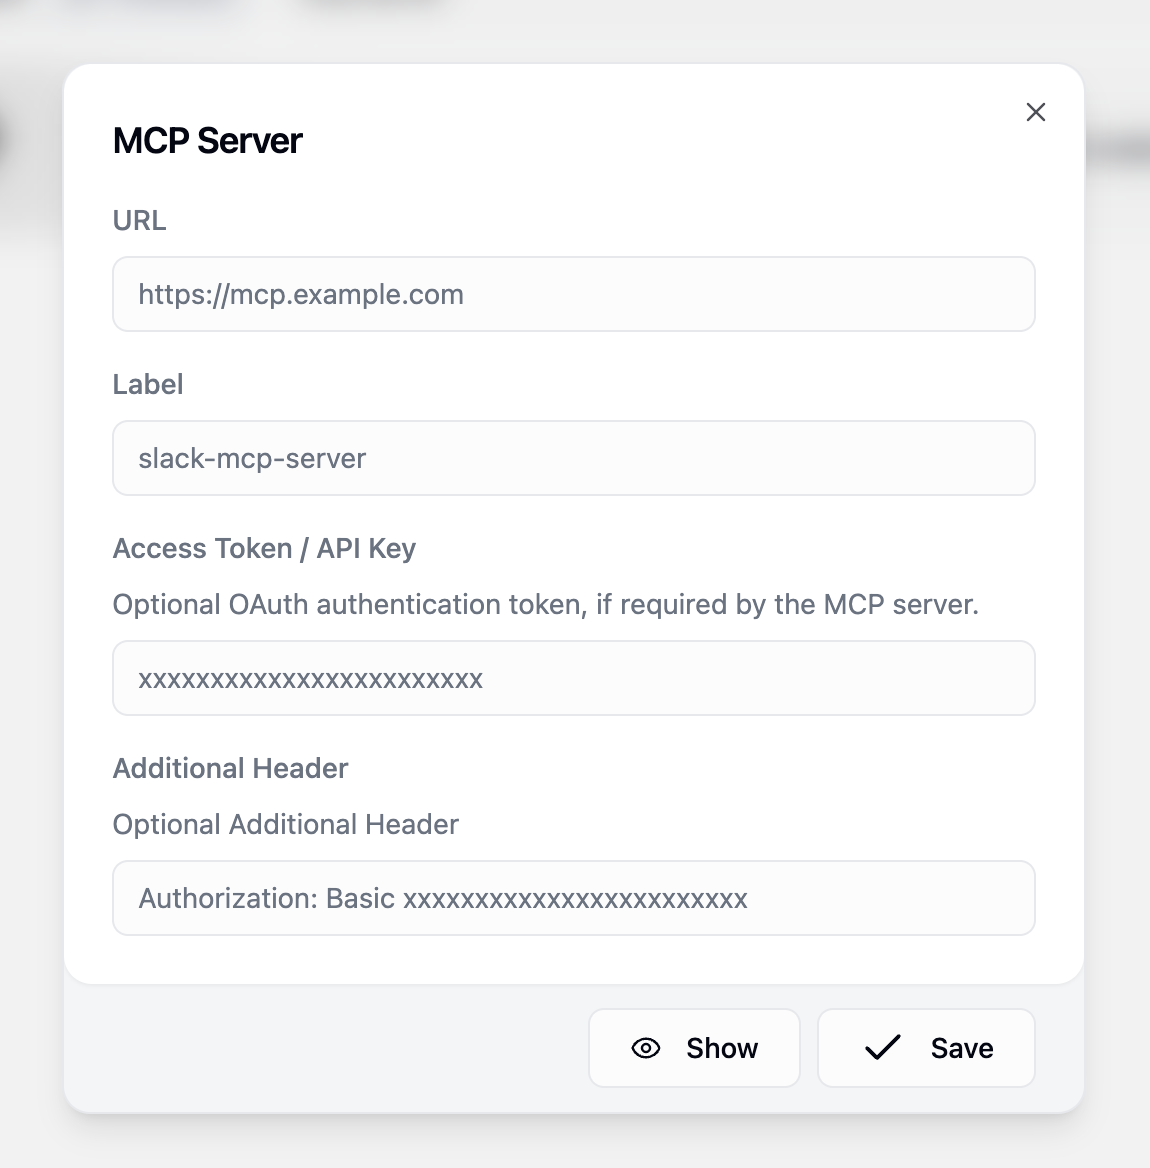 Click Save to store your MCP server credentials.
Replace
<your-api-key> with your actual Membit API key. Keep this credential secure and don’t share it with unauthorized users.Building Your First Workflow
Now that your Membit MCP server is configured, let’s create a workflow that uses real-time context:1
Navigate to the Hub
Go to the Hub section in your Gumloop dashboard to access the workflow builder.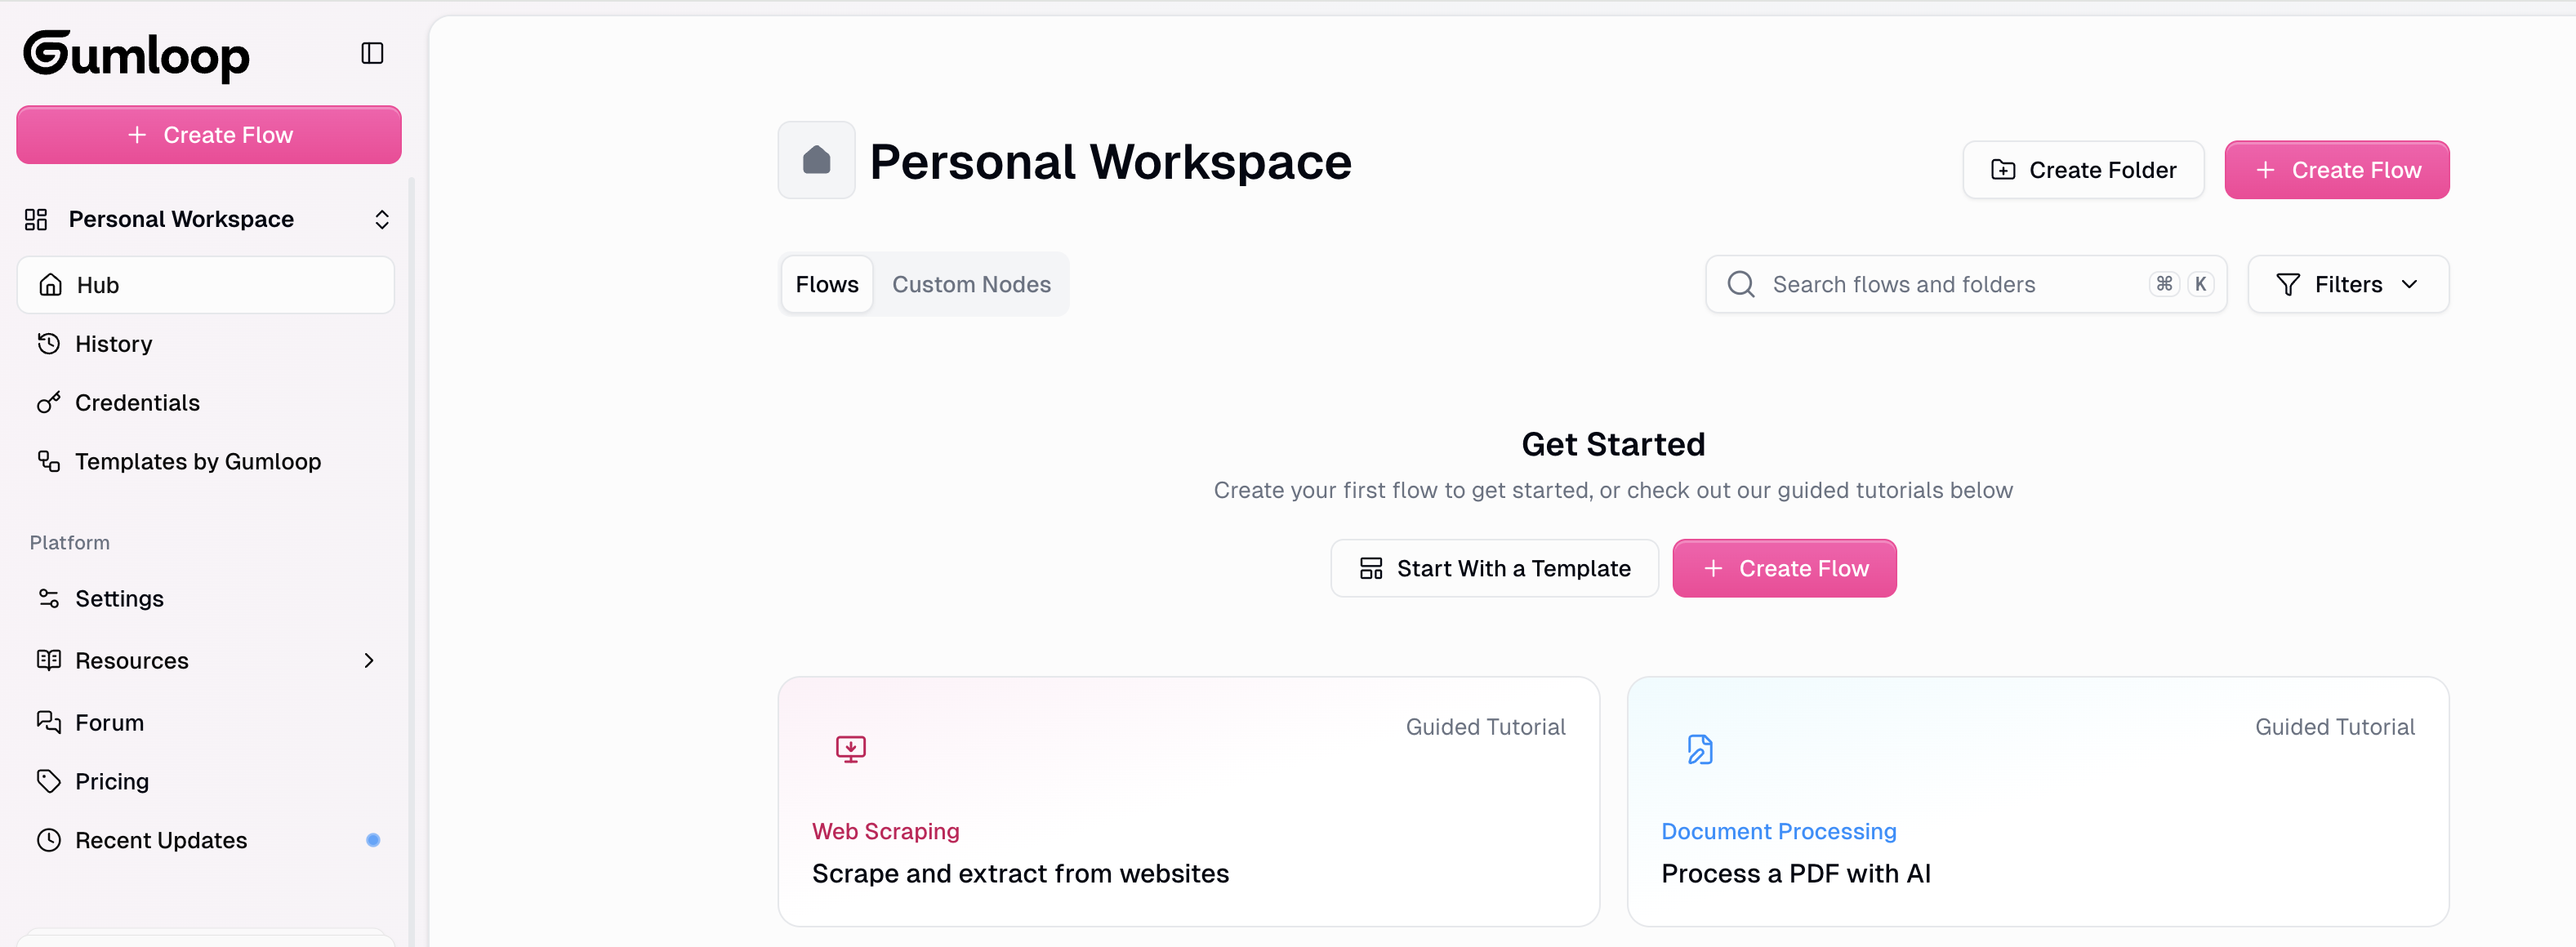
2
Create New Flow
Click Create Flow to start building a new workflow from scratch.
3
Add Your First Node
Click Add your first node to begin building your workflow logic.
4
Search for Ask AI
In the node search bar, type “Ask AI” to find the AI conversation node.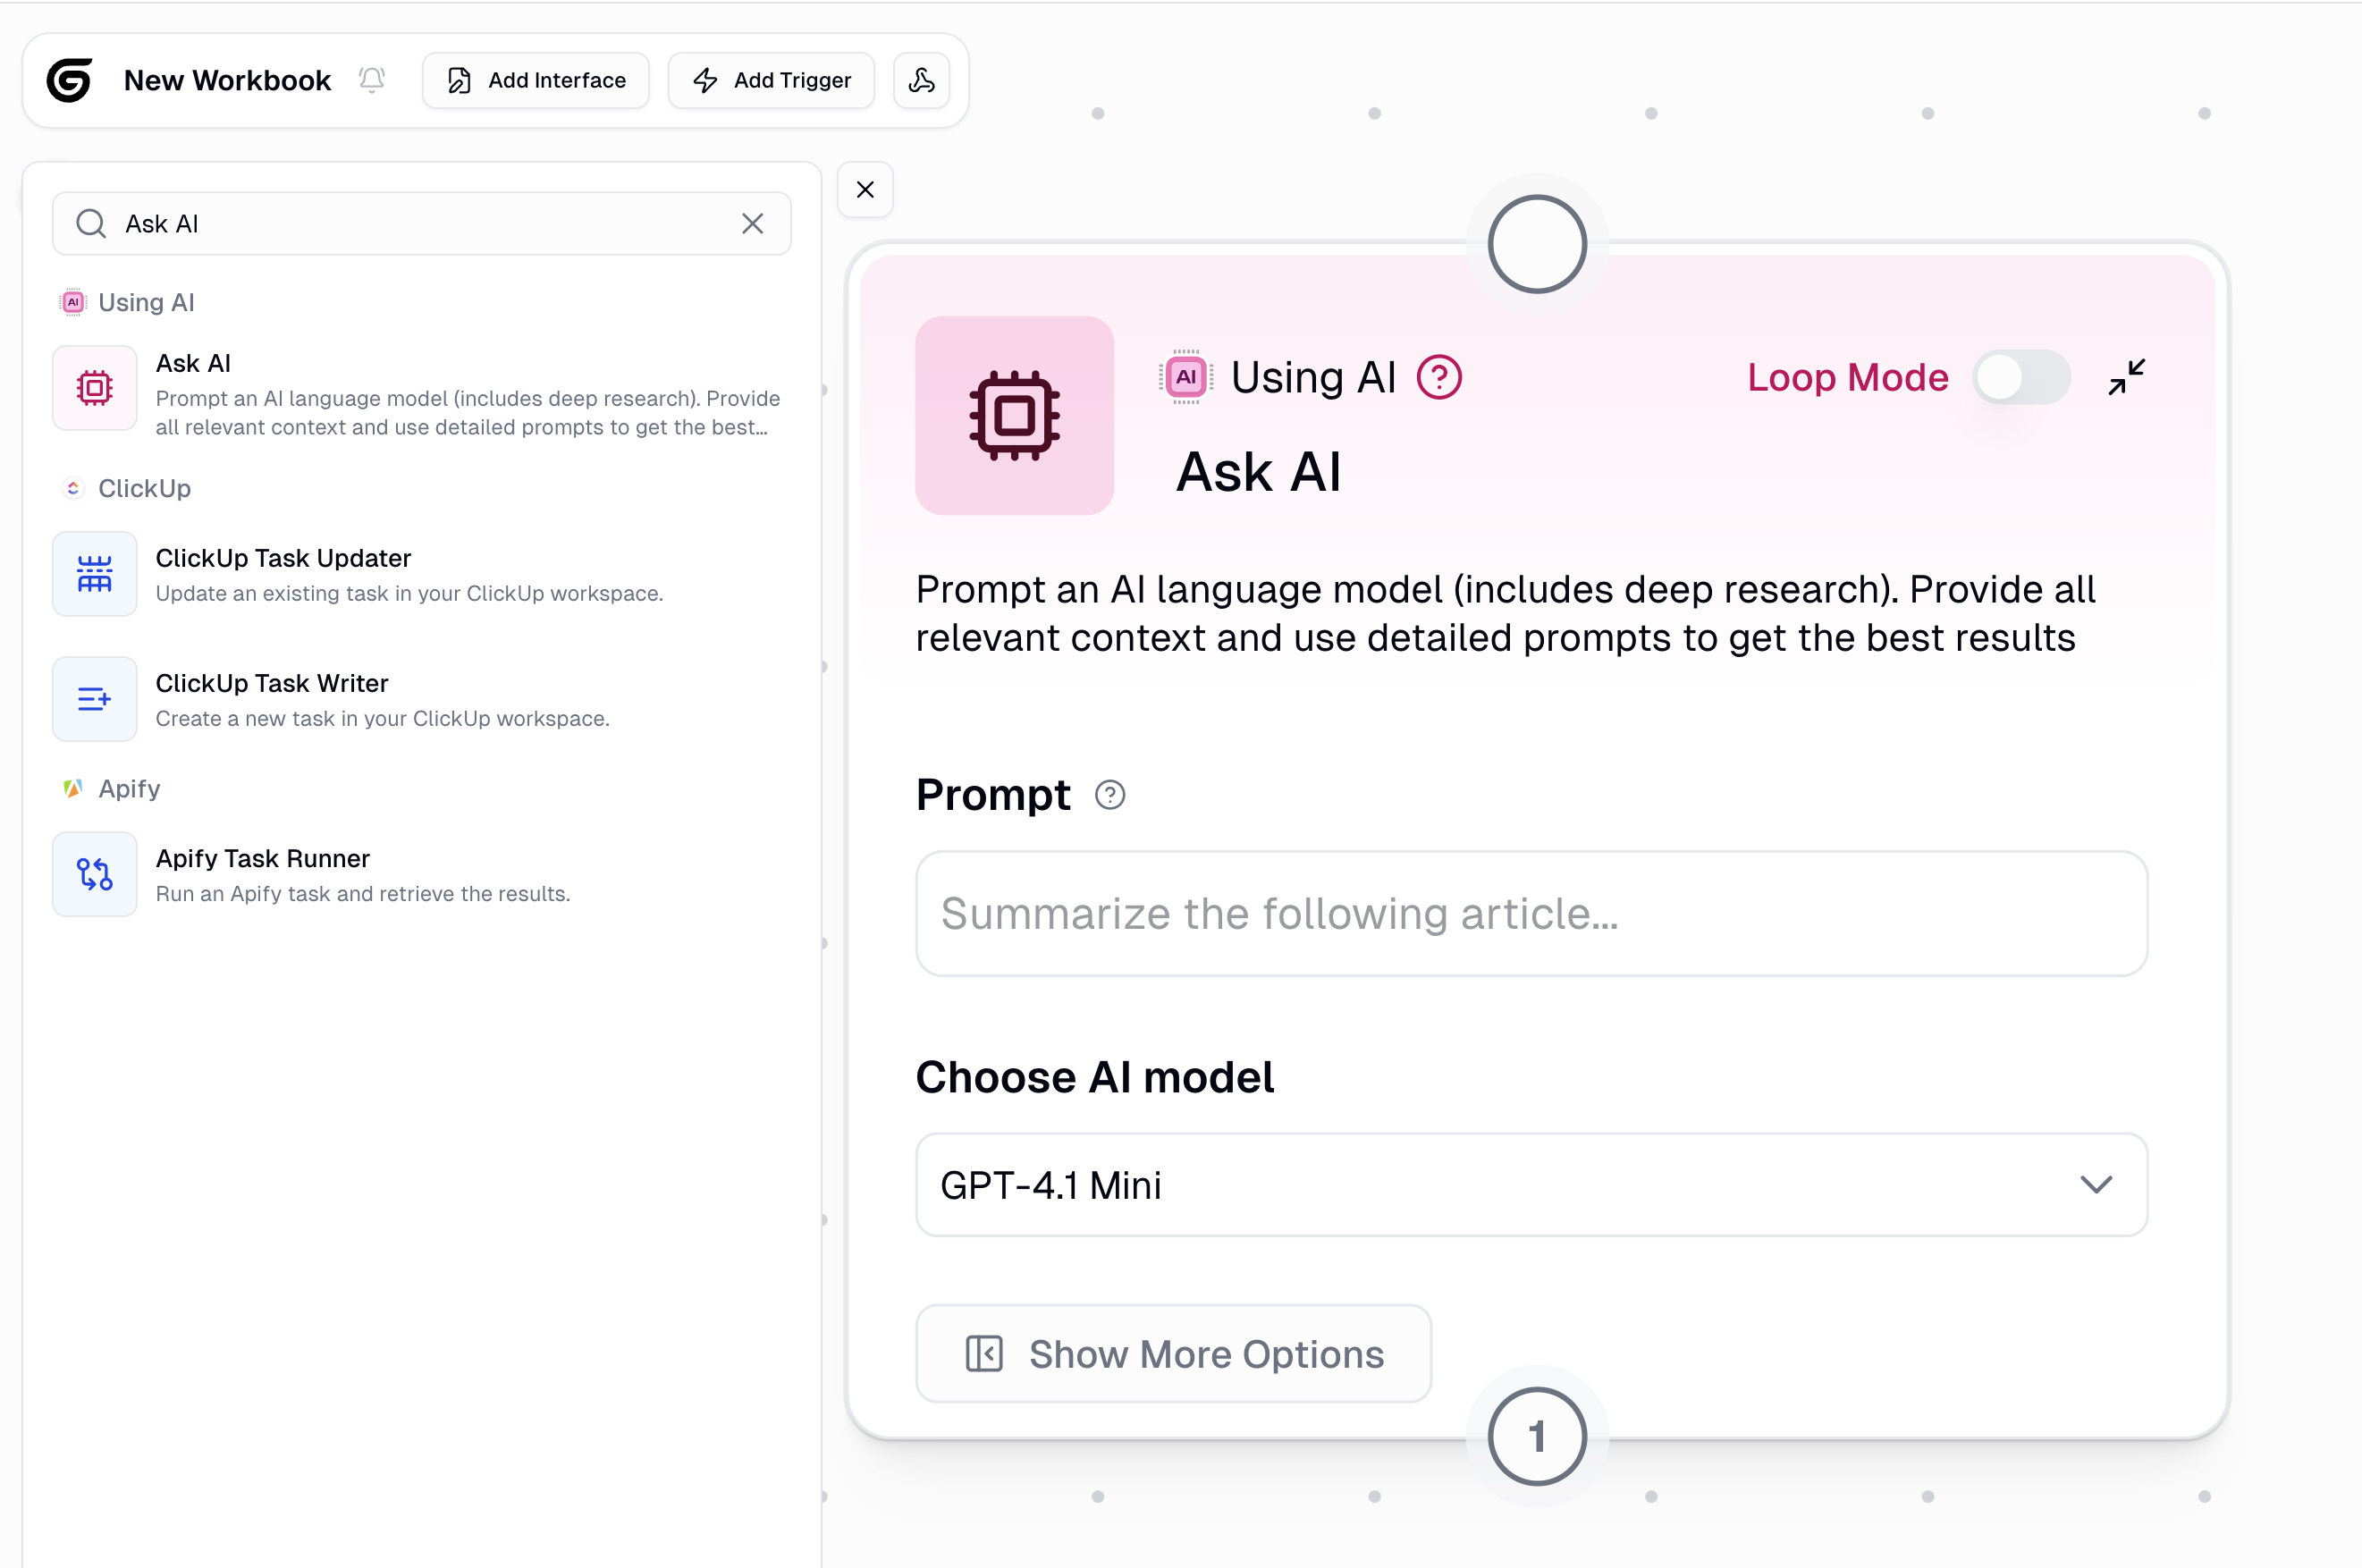
5
Configure Ask AI Node
Select the Ask AI node and configure it with these settings: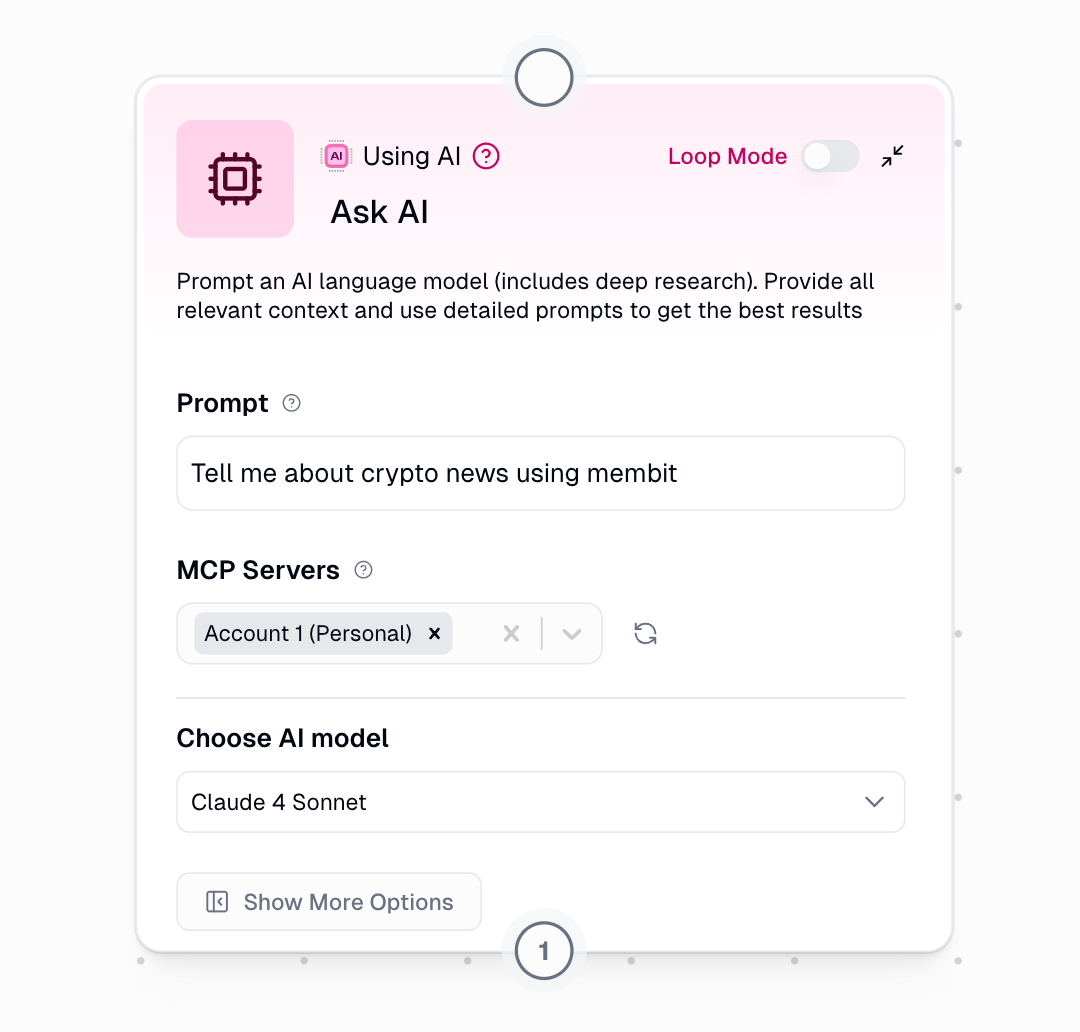 Basic Configuration:
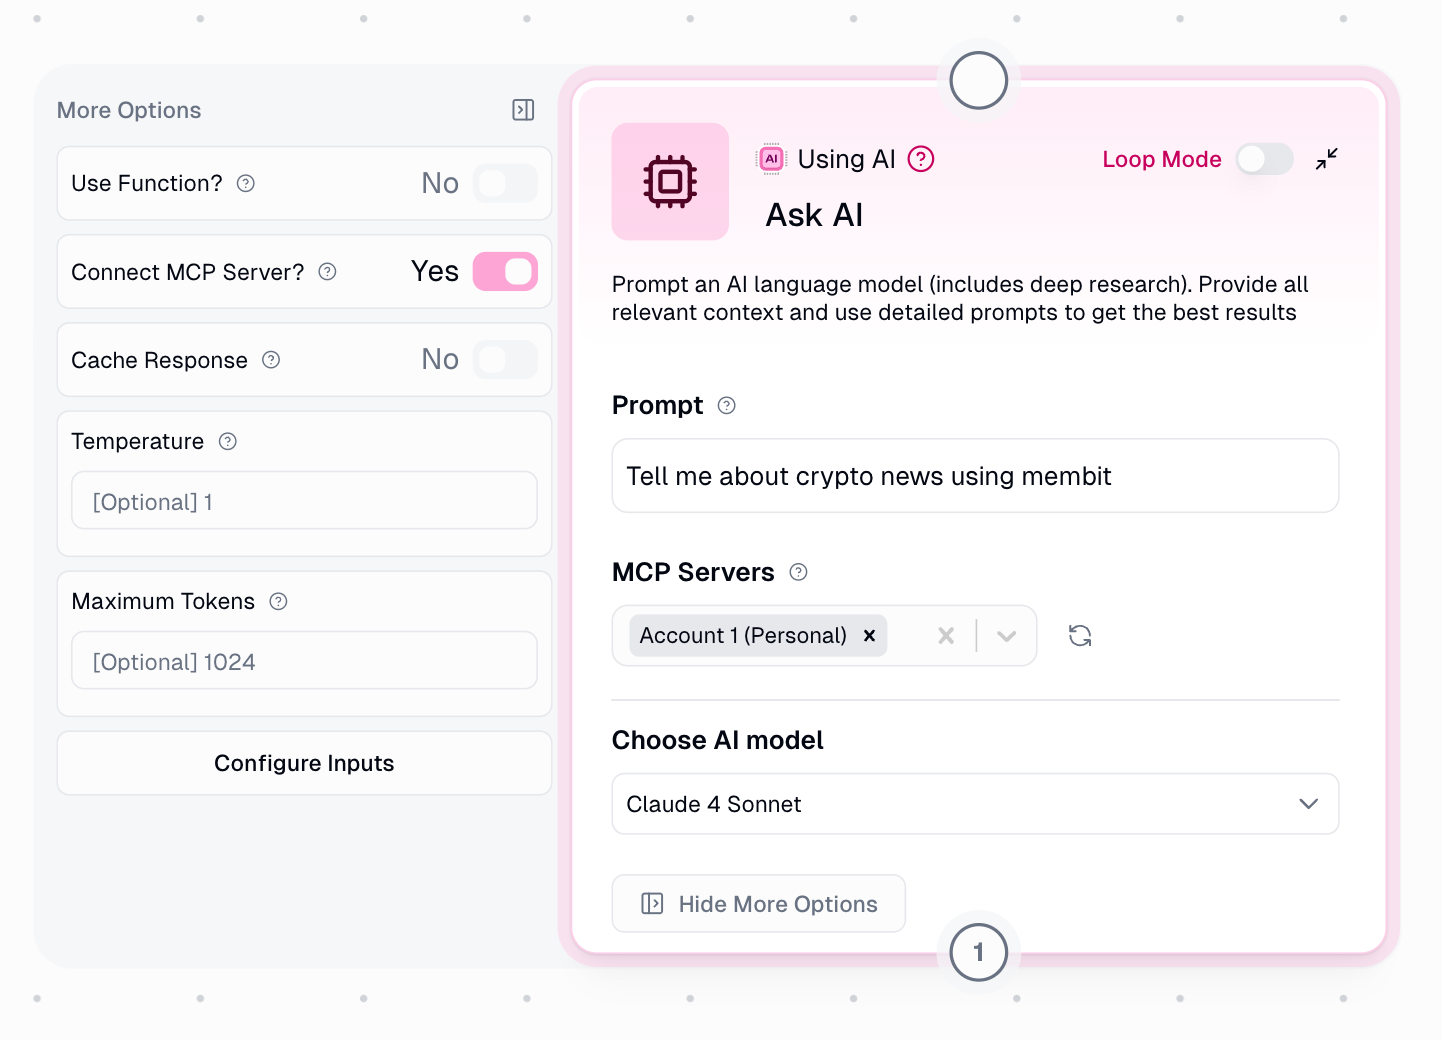 Advanced Options:
- Prompt: “Tell me about crypto news using membit” (or your preferred query)
- AI Model: Choose “Claude 4 Sonnet” or your preferred model
- Click “Show more options”
- Set “Connect MCP server” to Yes
- Choose MCP servers: Select the “membit-mcp” you created earlier
6
Test Your Workflow
Click Run to execute your workflow and see Membit’s real-time context in action.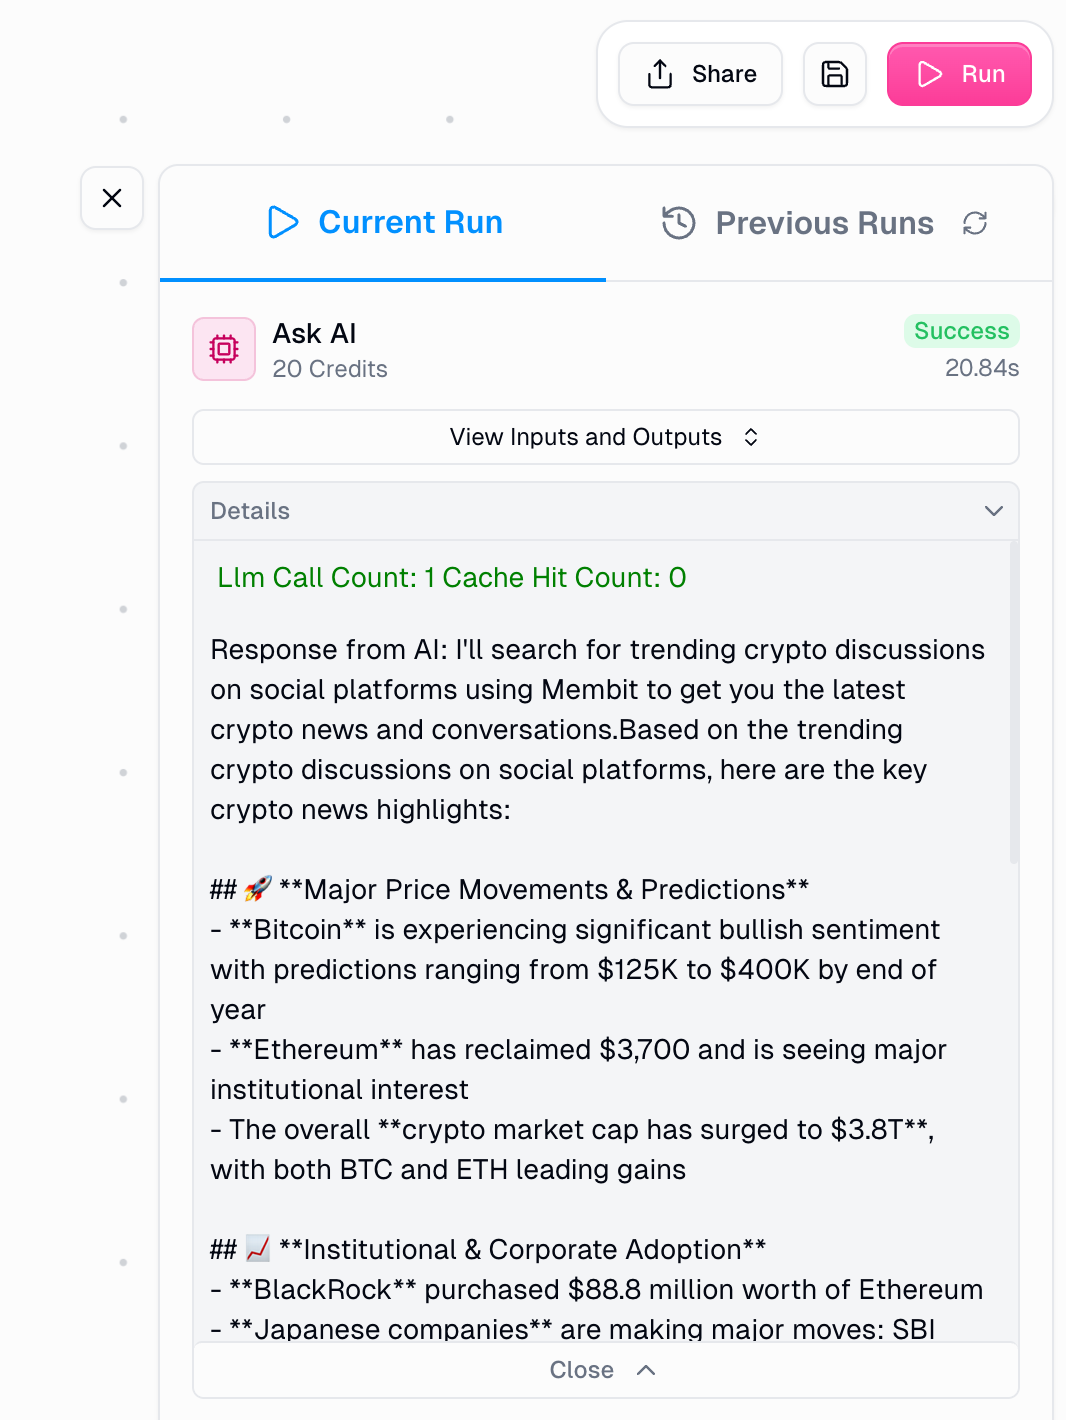
Workflow execution showing real-time context from Membit
If successful, your AI agent will respond with current information about your query topic, powered by Membit’s real-time data feed.